
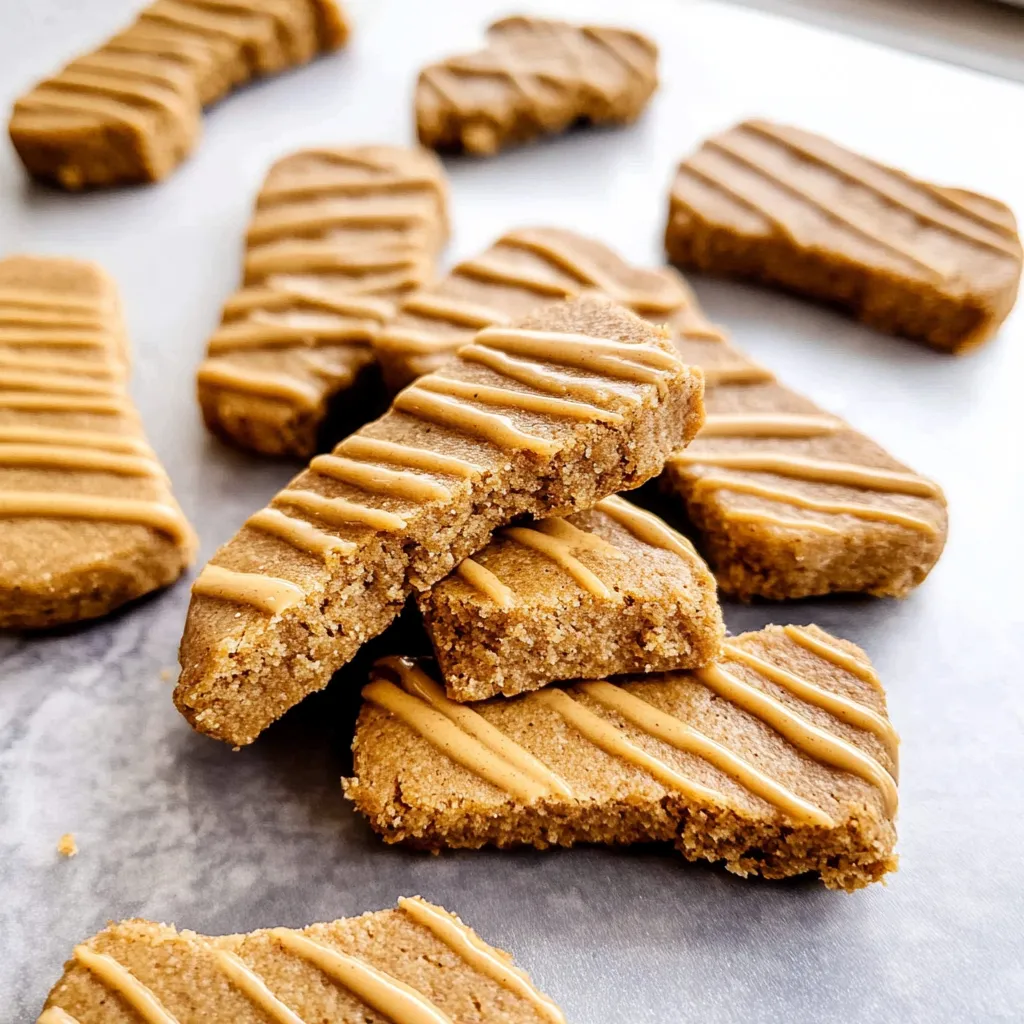
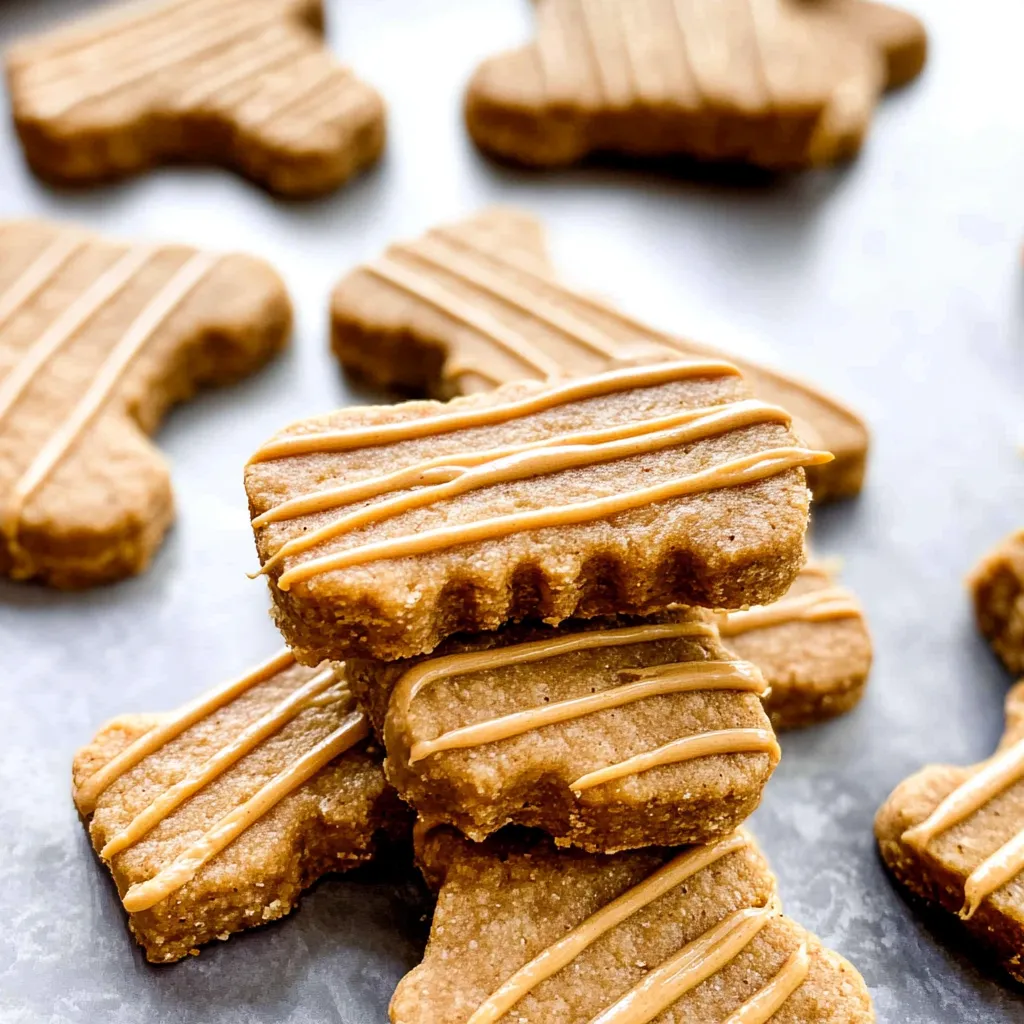
Homemade Dog Treats Recipe (Peanut Butter Dog Treats)
Your furry friend’s happiness is often found in a tasty treat, and there’s nothing quite like the joy that comes from making Homemade Dog Treats Recipe (Peanut Butter Dog Treats). Not only are these treats made with love, but they also allow you to control the ingredients, ensuring your pup enjoys a healthy snack without unwanted additives. The rich, nutty flavor of peanut butter is a universal favorite among dogs, making it the perfect base for countless variations. You can experiment by adding ingredients like pumpkin for extra fiber or oats for a delightful texture.
For those looking to take their baking skills up a notch, there are tips to achieve the perfect crunch or softness, depending on your dog’s preference. Plus, these treats can be shaped into fun forms, making mealtime a delightful surprise! Join the fun in the kitchen and discover how simple, rewarding, and delicious it is to whip up your own delicious homemade dog treats.
Ingredients for Homemade Dog Treats Recipe (Peanut Butter Dog Treats):
Creating nutritious and tasty treats for your furry friend is a rewarding experience. This simple recipe yields delicious peanut butter dog treats that your pet will absolutely love. Here’s what you’ll need:
Dry Ingredients:
- 2 ½ cups whole wheat flour – This provides a hearty base for the treats and is usually well-tolerated by most dogs.
- ½ cup rolled oats – Adding texture and fiber, oats are a great way to make these treats more wholesome.
- 1 teaspoon baking powder – This ingredient helps the dough rise, ensuring the treats are light and crunchy.
Wet Ingredients:
- 1 cup natural peanut butter – Choose unsweetened, creamy or chunky varieties without xylitol, as it is toxic to dogs. This is the star of the show!
- 1 egg – Acts as a binder for the ingredients and also contributes to the nutritional value.
- ½ cup chicken or beef broth – Use low-sodium options if possible. This adds flavor and moisture to the dough.
Treat Variations:
To customize these dog treats for your pup’s preferences, consider the following variations:
- Pumpkin Addition: Substitute ½ cup of the broth with pure pumpkin puree (not the spiced pie filling) for an added flavor boost and additional nutrients.
- Apple Flavor: For a fruity twist, mix in 1 shredded apple (ensure the seeds are removed) for natural sweetness and extra crunch.
- Carrot Delight: Adding ½ cup of finely grated carrots can give your treats a nutrient-packed boost along with an appealing texture.
Optional Toppings:
If you want to spoil your dog further, you can top the treats with a sprinkle of shredded coconut or a drizzle of carob for extra flair! Just make sure whatever you choose is safe for canine consumption.
These delectable homemade treats provide a fantastic kitchen bonding experience and a healthy snack for your pup. Enjoy making them!
How to prepare Homemade Dog Treats Recipe (Peanut Butter Dog Treats):
Making homemade dog treats is simple and rewarding. Follow these steps to create tasty peanut butter treats for your furry friend.
Gather Your Ingredients
Start by collecting all the ingredients you will need. You will require 1 cup of peanut butter, 1 cup of pumpkin puree, 2 ½ cups of whole wheat flour, and 1 egg. Make sure the peanut butter doesn’t contain xylitol as it is toxic to dogs.
Preheat the Oven
Next, preheat your oven to 350°F (175°C). This temperature is ideal for baking the treats without burning them.
Mix the Wet Ingredients
In a large mixing bowl, add the peanut butter, pumpkin puree, and egg. Stir these ingredients together until they form a smooth mixture. Ensure there are no lumps for a consistent dough.
Add the Flour Gradually
Slowly add the whole wheat flour to the wet mixture. Start with one cup and mix thoroughly. Keep adding flour until the dough pulls away from the sides of the bowl.
Knead the Dough
Once the mixture has a good consistency, transfer the dough onto a lightly floured surface. Knead it gently for a few minutes until it becomes smooth and elastic.
Roll Out the Dough
Using a rolling pin, roll the dough out to about ¼ inch thickness. You can adjust this thickness according to your preference for treat size.
Cut Out Shapes
With a cookie cutter, cut out shapes from the rolled dough. You can use bone shapes, hearts, or any fun shapes you desire. Place the cutouts onto a baking sheet lined with parchment paper.
Bake the Treats
Put the baking sheet in the preheated oven and bake the treats for about 20 to 25 minutes. The edges should turn golden brown, indicating that they are properly baked.
Cool and Store
After baking, remove the treats from the oven and let them cool on the baking sheet for a few minutes. Then, transfer them to a wire rack to cool completely. Once cooled, store the treats in an airtight container to keep them fresh.
Your homemade dog treats are now ready to be enjoyed by your beloved pup!
Tips for the Perfect Homemade Dog Treats Recipe (Peanut Butter Dog Treats)
Maintain the Right Temperature
To achieve the perfect texture in your homemade dog treats, pay attention to the baking temperature. Preheat your oven to 350°F (175°C) for optimal results. This temperature allows the treats to bake evenly without burning. Always use an oven thermometer to ensure accuracy. Even slight variations in temperature can affect how your treats rise and firm up.
Utilize Quality Ingredients
Choosing quality ingredients is crucial for the health of your furry friends. Opt for natural peanut butter that contains no added sugar, salt, or artificial ingredients. Always check the label to ensure it’s safe for dogs; xylitol, for example, is toxic to them. Incorporate whole wheat flour or oats as your base, as they provide essential nutrients and fiber. Experimenting with organic options can enhance the flavor and health benefits of your treats.
Explore Substitutions for Dietary Restrictions
If your dog has specific dietary needs, don’t worry! You can easily modify this recipe. For instance, if your pup is gluten-sensitive, replace whole wheat flour with a gluten-free alternative like almond flour or coconut flour. If peanut butter is not an option, try sunflower seed butter or pumpkin puree for a different—and equally yummy—flavor. Always ensure any substitute you choose is dog-safe.
Consider Texture and Shape
The texture of your treats can be customized based on your dog’s preference. For crunchy treats, roll the dough thinner and bake a little longer; for softer ones, shape the treats thicker and reduce baking time. Using cookie cutters can make treats fun and visually appealing. Invest in dog-themed shapes to make treat time even more special!
Store Your Homemade Dog Treats Properly
Storing your peanut butter dog treats correctly can prolong their freshness. Use airtight containers and keep them in a cool, dry place. For longer storage, consider freezing your treats in freezer-safe bags. They can last up to three months this way. Just thaw them as needed, and your pup will enjoy fresh treats anytime!
With these tips, you can create delightful, healthy homemade dog treats that your canine companion will love. Each delicious bite is sure to have them wagging their tails in excitement!
Storage Tips for Homemade Dog Treats Recipe (Peanut Butter Dog Treats):
Storing your homemade dog treats properly ensures they remain fresh and safe for your furry friend. Use the following tips to maintain the quality and longevity of your peanut butter dog treats.
Maintaining Freshness
To keep your homemade dog treats fresh, avoid exposing them to air. Place the treats in an airtight container. This simple step prevents moisture and air from causing them to become stale. Always choose containers with a good seal to ensure maximum freshness.
Optimal Storage Conditions
Store your dog treats in a cool, dry place. A pantry or cupboard works well as long as it is away from heat sources. Heat can cause the treats to deteriorate faster. Additionally, keep the treats out of direct sunlight, as exposure to light may also affect their texture and flavor.
Refrigeration vs. Room Temperature
If you plan to use your peanut butter dog treats within a week, they can stay at room temperature. However, for longer storage, consider refrigerating them. Refrigeration extends their shelf life up to two weeks. Ensure you still keep them in an airtight container to prevent them from absorbing any odors in your refrigerator.
Freezing for Extended Shelf Life
Freezing is an excellent option for prolonging the life of your homemade treats. If you want to keep them fresh for up to three months, wrap the treats in plastic wrap and place them in a freezer-safe bag. Label the bag with the date you made the treats, so you can manage their usage easily. When you’re ready to treat your dog, simply thaw the desired amount at room temperature.
Checking for Freshness
Before giving your dog a treat, always check that it looks, smells, and feels right. If you notice any mold or off-putting odor, discard the treat immediately. While homemade treats lack preservatives, they should still maintain a fresh and pleasant scent if stored correctly.
By following these storage tips, you can ensure your homemade dog treats stay fresh, delicious, and ready for your furry friend to enjoy!
Related Recipes for Your Furry Friend
If your pup loves the Homemade Dog Treats Recipe (Peanut Butter Dog Treats), you might want to try these other tasty and wholesome recipes. Each of these suggestions uses natural ingredients and focuses on providing delicious snacks that are safe for your furry family member.
1. Sweet Potato Dog Chews: These soft and chewy treats are packed with vitamins and fiber. Sweet potatoes are great for your dog’s digestive health. Simply slice the sweet potatoes, bake them until crisp, and let your pet enjoy a chewy and nutritious snack. They complement peanut butter treats well, as both offer unique flavors that dogs adore.
2. Oatmeal Banana Dog Biscuits: Combining oats and bananas, these biscuits are easy to make and perfect for a quick snack. Bananas provide potassium, and oats are excellent for your dog’s energy levels. These treats work well alongside peanut butter dog treats, as the sweetness of banana balances the rich flavor of peanut butter, creating a delightful variety for your pet’s palate.
3. Carrot and Apple Dog Cookies: This recipe brings the crunch factor with fresh carrots and apples. Dogs love the texture, and these ingredients supply essential vitamins. Pairing these cookies with peanut butter treats adds an interesting mix to your dog’s treat jar. The savory and sweet combinations keep snack time exciting for your pet.
4. Pumpkin Dog Muffins: Made with pure pumpkin, these muffins are not only tasty but also beneficial for digestion. The moist texture and inviting smell will entice your dog to indulge. Like the peanut butter treats, pumpkin adds an element of sweetness, making it a perfect match for a varied snack menu for your dog.
Exploring these related recipes not only enhances treat time but also adds nutritional benefits to your pup’s diet. Mixing different flavors and textures keeps your canine companion happy and satisfied!
Frequently Asked Questions:
What ingredients do I need for homemade peanut butter dog treats?
To create delightful homemade dog treats, you’ll primarily require whole wheat flour, rolled oats, peanut butter (make sure it’s safe for dogs and doesn’t contain xylitol), eggs, and water. You can enhance the flavor with ingredients such as honey or pumpkin puree if desired. It’s important to ensure all components are dog-friendly to keep your furry friend safe and healthy.
How do I store my homemade dog treats?
After preparing your tasty peanut butter dog biscuits, allow them to cool completely. Store them in an airtight container to keep them fresh. They can be kept at room temperature for up to a week or in the refrigerator for a longer shelf life of two weeks. For even more longevity, consider freezing the treats; they will last for several months in the freezer.
Can I substitute ingredients in the peanut butter dog treats recipe?
Absolutely! If your pup has dietary restrictions, you can swap whole wheat flour with oat flour or rice flour. Additionally, if your dog is allergic to peanut butter, you might consider using almond butter or sunflower seed butter as a substitute. Just ensure that any alternative you choose is safe for canine consumption.
How can I make the treats more appealing to my dog?
To increase the appeal of your homemade treats, consider adding flavors that dogs adore, such as mashed banana, sweet potato, or shredded carrots. You can also play with the treat shapes using cookie cutters to craft fun designs, making snack time more enjoyable for your furry friend.
How do I know if my dog is allergic to any ingredients?
If you’re introducing new homemade biscuits to your dog’s diet, monitor them closely for any signs of allergies, which might include itching, swelling, or digestive upset. It is recommended to start with small amounts and gradually increase the serving after ensuring your dog does not react negatively. Consulting a veterinarian before introducing new treats can also provide additional peace of mind.
How often can I give my dog homemade treats?
While homemade peanut butter dog treats are a fantastic way to show your love, moderation is key. Treats should only comprise a small portion of your dog’s daily caloric intake—generally around 10% or less. Always balance treats with a healthy diet and regular exercise to maintain your pet’s overall health and well-being.
Conclusion:
Creating homemade dog treats, specifically peanut butter dog treats, is a delightful and rewarding endeavor that combines simplicity with the joy of pampering your furry friend. This recipe showcases how easy it is to whip up healthy snacks using just a few ingredients, making it accessible for both seasoned bakers and beginners alike. One of the standout features of these treats is their flexibility; you can easily customize them by adding ingredients like oats, pumpkin, or even herbs for extra nutrition and flavor. Don’t hesitate to experiment with shapes and sizes too! These homemade biscuits not only save you money but also provide your pet with wholesome goodness, free from unwanted additives. Your pup will relish these tasty morsels, and you’ll enjoy the satisfaction of making something special just for them. Enjoy the process, and happy baking!