
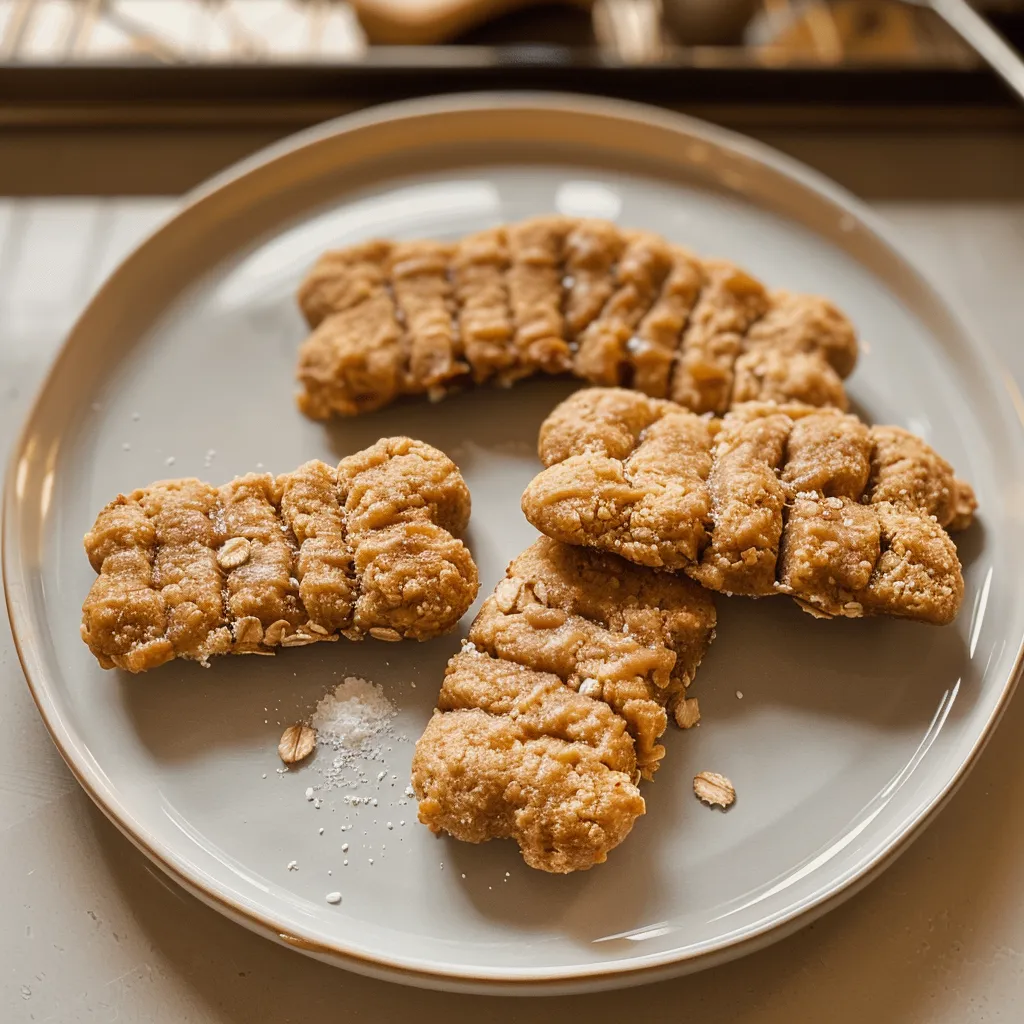
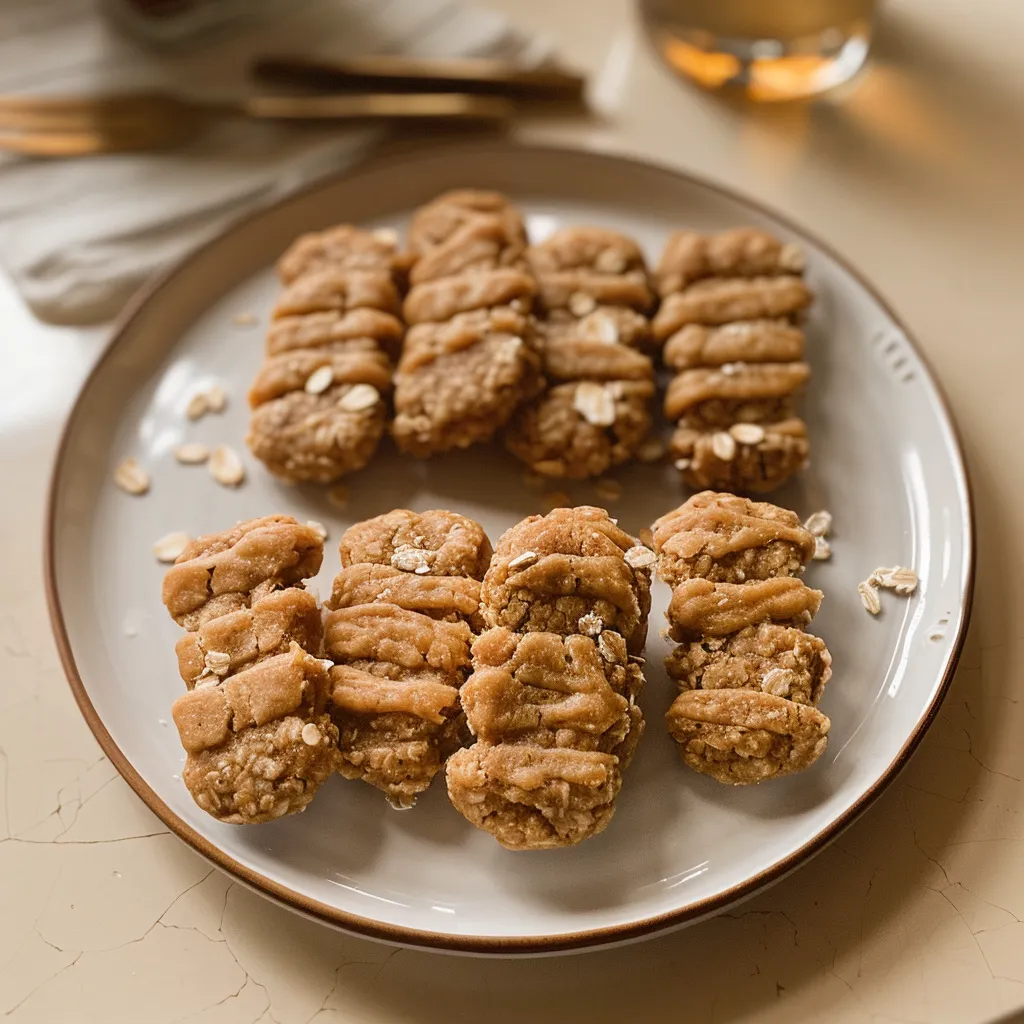
Homemade Peanut Butter Oat Dog Treats: Simple & Healthy
There’s something truly special about crafting treats at home, especially when it comes to your furry friends. Homemade Peanut Butter Oat Dog Treats not only provide your pet with wholesome, natural ingredients but also allow you to tailor flavors to their liking. Imagine the wagging tails and joyful barks as your pup savors each delightful bite!
These treats can be customized effortlessly—add in pumpkin puree for extra nutrition, or mix in shredded carrots for a hint of sweetness. If your dog has specific dietary needs, feel free to substitute ingredients; for example, swapping whole wheat flour with oat or almond flour for gluten-sensitive pups can be a game changer.
For optimal results, it’s essential to monitor your baking time closely, as overbaking can lead to rock-hard results. With a mix of love, creativity, and the right techniques, these homemade goodies will not only please your dog’s palate but can also sneak in a healthy boost to their diet. Dive into this recipe and make your canine companion’s day a little brighter!
Ingredients for Homemade Peanut Butter Oat Dog Treats:
Creating a batch of delightful and nutritious treats for your furry friend is simple and requires just a handful of wholesome ingredients. Below, you’ll find everything you need to whip up these delectable dog biscuits that serve 8 to 10 pups.
Core Ingredients:
- 1 cup rolled oats: Make sure to choose whole rolled oats for a hearty texture that’s perfect for your dog. Avoid quick oats as they may turn mushy.
- 1/2 cup natural peanut butter: Look for unsweetened, unsalted peanut butter without additives. This ensures your treats are healthy and safe for your pet.
- 1/4 cup water: This will help bind the ingredients and create a dough that’s easy to roll and shape.
- 1 cup whole wheat flour: Whole wheat provides fiber and nutrients. You can substitute with oat flour for gluten-free treats if needed.
- 1/4 cup flaxseed meal: This adds an extra crunch and is rich in omega-3 fatty acids, which are great for your dog’s coat and skin.
Aromatic Additions:
- 1 tablespoon honey (optional): For a hint of sweetness, add honey if your dog enjoys sweeter treats. Use sparingly, especially if your dog is on a weight management plan.
- 1/2 ripe banana (optional): Mash in some banana for added flavor and moisture. This not only enhances taste but also provides additional nutrients such as potassium.
Flavor Variations:
To keep things interesting, consider mixing in some of the following:
- 1/4 cup shredded carrot: Offers a crunchy texture and is full of vitamins.
- 1 tablespoon cinnamon: A remarkable spice that adds flavor while also promoting good digestion.
- 1/4 cup pumpkin puree: Adds moisture and a delightful taste that many dogs love.
With these ingredients, you are well-equipped to make delightful homemade treats that your canine companion will absolutely adore. Feel free to mix and match to discover what your pet loves the most!
How to prepare Homemade Peanut Butter Oat Dog Treats:
Creating delicious and nutritious treats for your canine companion is a rewarding experience. Follow these detailed steps to make wholesome Homemade Peanut Butter Oat Dog Treats.
Gather Your Ingredients
Start by collecting the necessary ingredients. You will need 1 cup of rolled oats, 1/2 cup of natural peanut butter (make sure it’s xylitol-free), 1/2 cup of pumpkin puree or mashed banana, and 1/4 cup of water.
Preheat the Oven
Next, preheat your oven to 350°F (175°C). This step is crucial as it ensures that your treats bake evenly and thoroughly.
Mix the Dry Ingredients
In a large mixing bowl, add the rolled oats. If desired, you can blend the oats in a food processor to create a finer texture. However, whole oats can add a nice crunch!
Combine the Wet Ingredients
In a separate bowl, mix the natural peanut butter and pumpkin puree (or mashed banana) until you achieve a smooth consistency. Make sure there are no lumps for a uniform treat.
Add Water for Consistency
Gradually add the water to the peanut butter mixture. This will help to create a dough that is moldable but not overly sticky. Adjust the amount of water as needed.
Incorporate the Ingredients
Pour the wet mixture into the bowl with the rolled oats. Stir with a spatula or wooden spoon until both components blend completely. You should end up with a thick dough.
Knead the Dough
Transfer the dough onto a lightly floured surface. Knead it gently with your hands for a few minutes until it’s smooth. If the dough is too dry, add a bit more water; if too wet, sprinkle some more oats.
Shape the Treats
Roll out the dough to about 1/4 inch thickness. Use cookie cutters to shape your treats into fun designs or just cut them into squares. Place them on a baking sheet lined with parchment paper.
Bake Your Dog Treats
Bake the treats in your preheated oven for about 20-25 minutes. Keep an eye on them; they should turn golden brown and be firm to the touch.
Cool and Store
Once out of the oven, let the treats cool completely on a wire rack. Store in an airtight container for up to two weeks or freeze for longer freshness.
Tips for the Perfect Homemade Peanut Butter Oat Dog Treats
Creating delicious homemade treats for your furry friend can be rewarding. Follow these tips to make the best peanut butter oat dog treats for your pup.
Use Quality Ingredients
Start with high-quality peanut butter that contains no added sugar or artificial ingredients. Look for brands that list peanuts as the sole ingredient. Ensure that the oats are whole and unprocessed. Using organic ingredients, when possible, can enhance the nutritional value of the treats.
Temperature Control is Key
Maintaining the right temperature is crucial during the baking process. Preheat your oven to 350°F (175°C) to ensure even cooking. Keep an eye on the treats while they bake. Depending on your oven, they may need a few extra minutes or could cook faster than expected. A golden brown color indicates they are done—overbaking can dry them out.
Right Texture for Your Treats
The texture of the dough plays a significant role in the outcome. The dough should be firm yet pliable. If the dough feels too sticky, add a little more oat flour. If it’s too dry, a small amount of water can help bring it together. These adjustments ensure perfect chewiness and flavor.
Consider Dietary Restrictions
If your dog has allergies or sensitivities, substitute ingredients accordingly. For instance, use almond butter if your dog cannot have peanut butter. Ensure that the substitute is safe for dogs. If your pup is grain-free, consider using coconut flour or chickpea flour as a replacement for oats.
Add Flavor Variations
To make the treats even more appealing, experiment with flavors. Incorporate mashed bananas or pumpkin puree for a sweeter touch. Add shredded carrots or apple chunks for extra nutrition and flavor. Always ensure that any new ingredients are safe for dogs.
Storing Your Treats
To keep your homemade goodies fresh, store them in an airtight container. For longer-lasting treats, freeze them. Just pull out what you need when it’s time to spoil your furry friend. Proper storage can maintain the flavor and make them last much longer.
With these tips, your homemade dog treats will be a hit! Enjoy baking for your beloved pet and watch them wag their tail in delight.
Storage Tips for Homemade Peanut Butter Oat Dog Treats:
Maintaining the freshness of your furry friend’s snacks is crucial for their health and enjoyment. Follow these storage tips to keep your homemade dog treats in top-notch condition.
Optimal Storage Conditions
To start, store your treats in an airtight container. This simple step prevents moisture from entering and keeps your treats crunchy and fresh. Choose a container made from glass or plastic with a secure lid. For extended freshness, consider refrigerated storage. Keeping your treats in the fridge enhances their longevity. Just be mindful to allow them to return to room temperature before rewarding your pup.
Understanding Shelf Life
Homemade treats typically have a shorter shelf life than commercial ones due to the absence of preservatives. Consume the treats within one week if left at room temperature. If you refrigerate them, they can last up to two weeks. It’s wise to regularly check for any signs of spoilage, like off smells or unusual textures. If you notice any, it’s safer to discard them.
Freezing for Longevity
For even longer storage, consider freezing your homemade treats. This method significantly extends their shelf life, giving you the flexibility to prepare them in advance. Spread the treats on a baking sheet in a single layer and freeze until solid. Once frozen, transfer them into a freezer-safe bag or container. Label the container with the date for easy tracking. They can remain frozen for up to three months without losing flavor or texture.
Thawing and Serving Tips
When you’re ready to serve, take out the required number of treats and allow them to thaw at room temperature for about 30 minutes. You can also quickly warm them in the microwave for a few seconds to restore their aroma and texture, which might excite your dog’s senses even more.
By following these storage tips, you can keep your homemade dog treats fresh, tasty, and beneficial for your beloved pet, ensuring every bite remains a delight. Treat your furry friend to these delicious snacks while keeping them fresh!
Related Recipes for Pet Lovers
If you enjoy making Homemade Peanut Butter Oat Dog Treats, you might also like these recipes. Each one appeals to your furry friend’s taste buds and contributes to their health.
Chicken and Sweet Potato Dog Treats
These treats combine lean chicken and nutritious sweet potatoes. They provide a high protein content and are easy to digest. Similar to the oat-based version, these treats are rich in fiber, which supports healthy digestion in dogs. Your pup will love the different flavor, keeping their snack time exciting.
Carrot and Apple Dog Biscuits
This recipe uses fresh carrots and apples to create crunchy, flavorful biscuits. The natural sweetness from apples makes these treats appealing. Just like the peanut butter oat options, they are healthy and easy to make. The added vitamins in carrots contribute to your dog’s overall well-being.
Banana and Oatmeal Dog Treats
Banana and oatmeal treats are another great choice for dog owners. They offer a similar texture to peanut butter oat dog treats, providing a chewy consistency that dogs enjoy. Bananas give these treats a different taste while still being nutritious. Plus, they can help with energy levels, making your dog more playful.
Making these recipes not only treats your dog but also enhances your bond through their nutritional needs. By focusing on wholesome ingredients, you craft delicious options that cater to your pet’s preferences and health.
Frequently Asked Questions:
What ingredients do I need for dog treats made with peanut butter and oats?
To make delightful canine snacks using peanut butter and oats, you will typically require just a few simple ingredients. Commonly, you’ll need natural peanut butter, rolled oats, whole wheat flour, and a mashed banana or applesauce for moisture. These ingredients not only provide flavor but also ensure that the treats are safe and healthy for your furry friend.
Can I make these treats without wheat flour?
Absolutely! If your dog has a sensitivity to wheat or gluten, you can easily substitute the whole wheat flour with alternatives such as almond flour, coconut flour, or even oat flour. These substitutes maintain a similar texture and taste, allowing your dog to enjoy these peanut butter oat treats without any digestive issues.
How long can I store homemade dog treats?
When stored in an airtight container in a cool, dry place, homemade dog treats can generally last up to two weeks. To extend their shelf life, consider refrigerating them, which can preserve their freshness for up to one month. Alternatively, you can freeze these tasty morsels for longer storage, typically allowing them to last several months.
Can I customize the flavors of my peanut butter oat dog treats?
Yes, you can definitely personalize the flavors! Adding ingredients like pumpkin puree, shredded carrots, or even sweet potato can introduce new tastes and textures that your dog may love. Just ensure that any additional ingredients are safe for dogs, avoiding harmful foods like chocolate or grapes.
Are these dog treats suitable for all dog breeds?
Generally, peanut butter oat treats are appropriate for most dog breeds, but always consider your dog’s specific dietary requirements and allergies. If your dog has health concerns or special nutritional needs, it’s best to consult with your veterinarian before introducing homemade snacks into their diet.
How do I know if my dog enjoys these homemade treats?
The best indicator of your dog’s enjoyment will be their reaction to the peanut butter oat treats. Watch for excitement during preparation, eagerness to taste, and tail wagging once they get a chance to enjoy one. If they keep coming back for more, it’s a sure sign that these homemade delights are a hit!
Conclusion:
In summary, whipping up some delightful homemade peanut butter oat dog treats is a straightforward and rewarding endeavor for pet owners. This recipe emphasizes simplicity, allowing you to create delicious snacks in just a few steps. Not only can you easily customize the ingredients to cater to your dog’s dietary needs, but you also have the flexibility to adjust flavors and textures by incorporating extras like pumpkin or applesauce. Always remember to introduce new treats gradually to gauge your dog’s reactions. With these tips, you can enjoy the process of making these treats while ensuring your furry friend receives a wholesome snack. Embrace the joy of cooking for your pet, knowing that homemade peanut butter oat dog treats are a thoughtful way to show your love!