
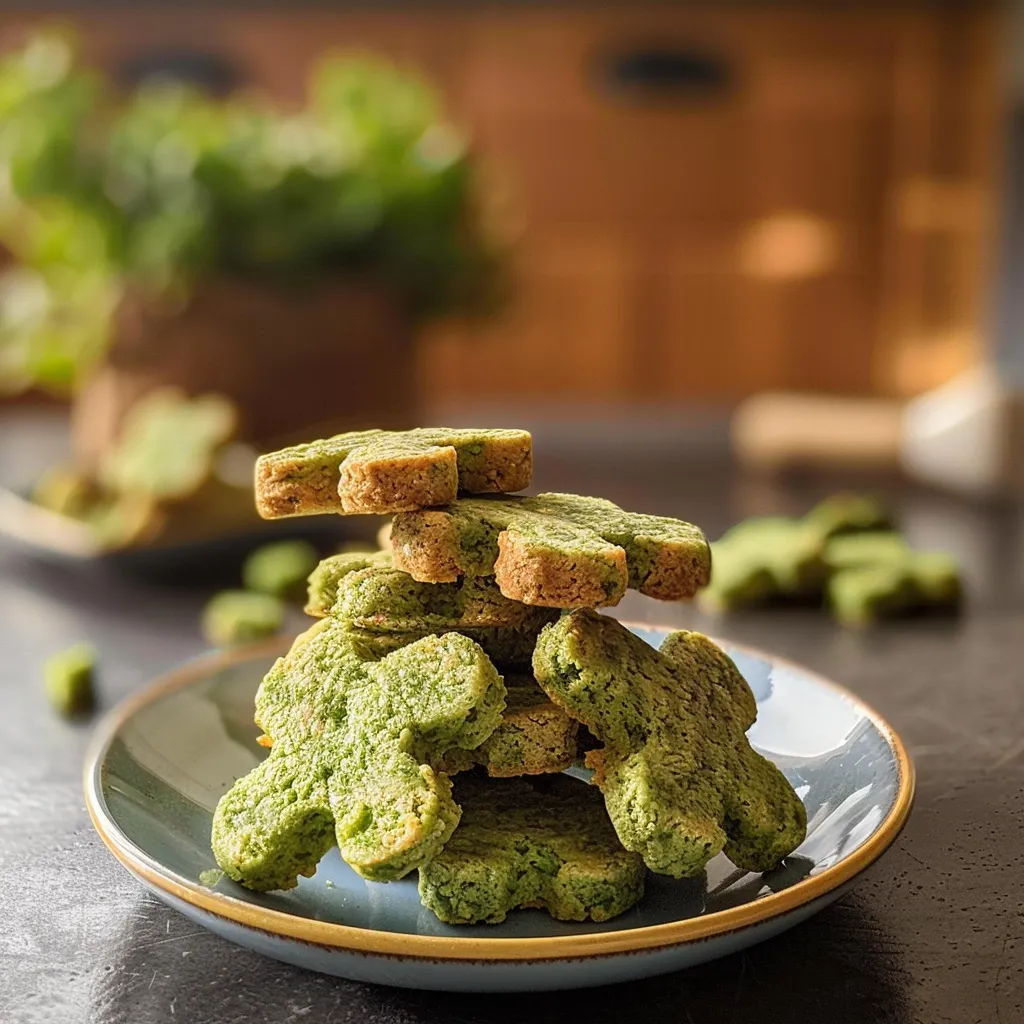
Long-Lasting Homemade Dog Treats
There’s nothing quite like the joy on your furry friend’s face when you reward them with a tasty treat. Long-lasting homemade dog treats not only save you money but also give you total control over the ingredients, ensuring that your dog enjoys something wholesome and nutritious. With endless possibilities, you can tailor these delights to suit your pet’s specific tastes or dietary needs. Want a crunchy, peanut butter-flavored biscuit? Or maybe something soft and meaty? The variations are limited only by your imagination!
To create the perfect treats, consider using wholesome ingredients such as oats, pumpkin, or even sweet potatoes. Not only do these add flavor, but they also offer health benefits that will contribute to your dog’s overall wellness. Expert tip: to ensure longevity, store your treats in an airtight container and keep them cool. With these simple recipes and techniques, your pup will be wagging their tail in delight, knowing that a delicious treat awaits. Let’s dive in and discover how to whip up these irresistible snacks!
Ingredients for Long-Lasting Homemade Dog Treats:
Creating your own dog treats at home is not only a rewarding experience but also allows you to control the quality of the ingredients, ensuring that your furry friend receives a healthy and tasty snack. Here’s what you’ll need for a batch serving 8–10 dogs.
Base Ingredients:
- 1 ½ cups of whole wheat flour – This serves as the primary base for the treats, providing necessary fiber and nutrients.
- 1 cup of rolled oats – Adds texture and a good source of complex carbohydrates, perfect for your dog’s energy needs.
- ½ cup of unsweetened peanut butter – Make sure there are no added sugars or xylitol, as these can be harmful to dogs.
- 1/3 cup of unsweetened applesauce – Acts as a natural sweetener while keeping the treats moist and flavorful.
- 1 large egg – This helps bind the ingredients together, ensuring that your treats hold their shape while baking.
Add-ins for Flavor:
- 1 cup of grated carrots – Enhances the flavor and adds moisture, plus carrots are a nutritious snack for dogs.
- ½ cup of pumpkin puree – Provides a rich flavor and is great for your dog’s digestive health.
- 1 tablespoon of honey – Optional for a touch of natural sweetness, but use sparingly to avoid excess sugar intake.
Optional Ingredients for Variation:
- 1 teaspoon of cinnamon – A great way to introduce a warm and delightful flavor that many dogs enjoy.
- ½ cup of blueberries or cranberries – Fresh or dried, these add a burst of color and antioxidants, perfect for your dog’s immune system.
- 1 tablespoon of flaxseed meal – Provides Omega-3 fatty acids, promoting healthy skin and coat.
Creating various flavors can keep your dog excited about treat time. Experimenting with ingredients like sweet potatoes or different nut butters can lead to a delightful range of flavors that dogs love!
How to prepare Long-Lasting Homemade Dog Treats:
Creating tasty and nutritious homemade dog treats is simple and rewarding. Follow these clear steps to ensure your furry friend enjoys every bite!
Gather the Ingredients for Your Dog Treats
Start by collecting all the necessary ingredients. You will need:
- 2 cups of whole wheat flour
- 1 cup of rolled oats
- ½ cup of peanut butter (ensure it’s xylitol-free)
- ½ cup of chicken or beef broth (low sodium)
- 1 egg
- 1 tablespoon of honey (optional)
Mix the Dry Ingredients
In a large mixing bowl, combine the whole wheat flour and rolled oats. Stir them together thoroughly to create a uniform mixture. This step ensures an even consistency in your dog treats.
Add the Wet Ingredients
In a separate bowl, mix the peanut butter, egg, broth, and honey (if using). Whisk the ingredients until smooth. This mixture will provide moisture and flavor to the treats.
Combine the Mixtures
Gradually pour the wet mixture into the bowl of dry ingredients. Use a spatula to stir them together, creating a dough. Knead the dough with your hands for a few minutes until it forms a cohesive ball.
Roll Out the Dough
Lightly flour your countertop or a clean surface. Place the dough on this surface and roll it out to about ¼ inch thick. Aim for even thickness to ensure uniform baking.
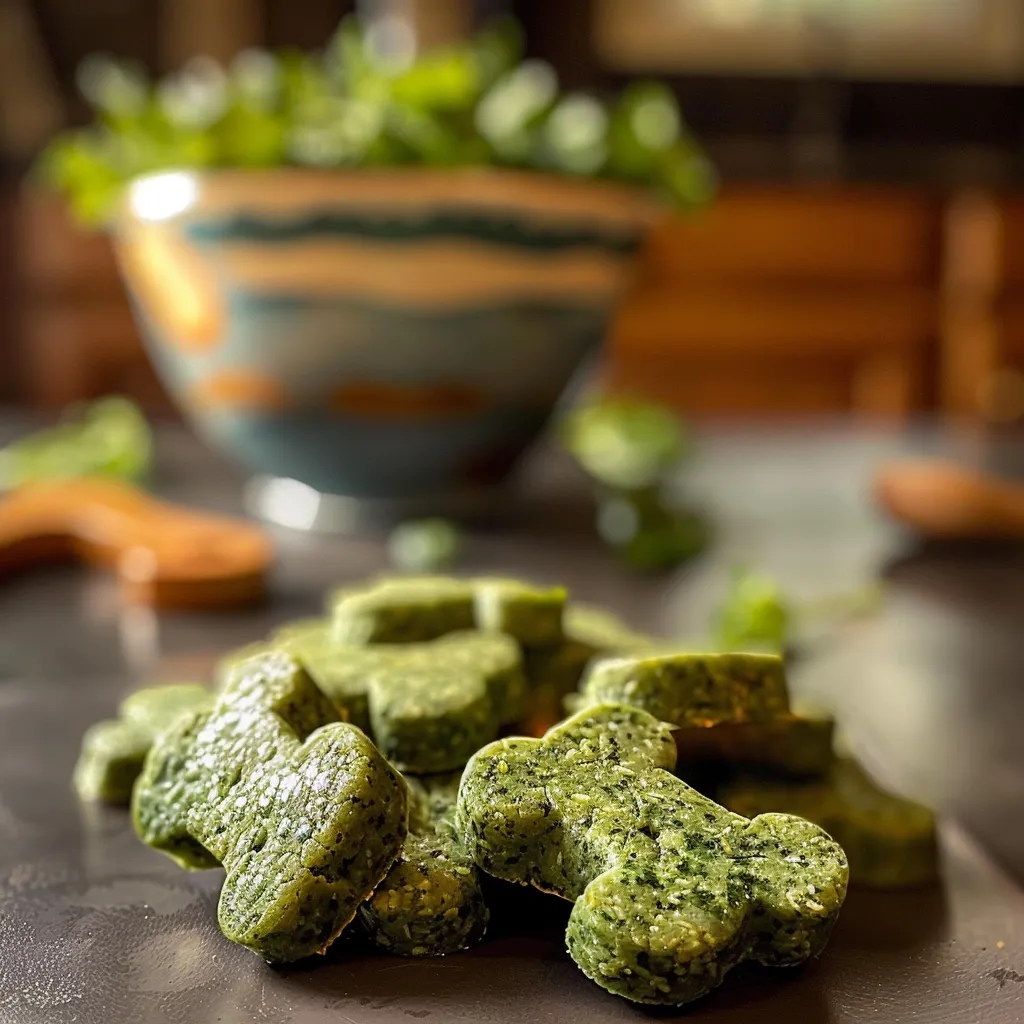
Cut the Treats
Using cookie cutters in various shapes, cut the dough into fun forms. Make sure the shapes are of appropriate size for your dog. If you don’t have cookie cutters, you can use a knife to slice the dough into squares.
Bake the Dog Treats
Preheat your oven to 350°F (175°C). Line a baking sheet with parchment paper. Place the cut shapes on the sheet, leaving space between each treat. Bake them for 25-30 minutes, or until they’re golden brown and hard.
Cool and Store
Remove the treats from the oven, and allow them to cool completely on a wire rack. Once cooled, store them in an airtight container. These homemade dog treats can last up to two weeks, making them a fantastic snack option!
Tips for the Perfect Long-Lasting Homemade Dog Treats
Temperature Control
Maintaining the right baking temperature is crucial for your treats. Preheat your oven to around 350°F (175°C) before placing your treats inside. Using an oven thermometer can help ensure accuracy, as many home ovens may not display the correct temperature. Bake the treats until they achieve a golden-brown color. This browning indicates that moisture is evaporating, which aids in making the treats crispy and shelf-stable. Monitoring your treats as they bake can help prevent burning or underbaking.
Quality Ingredients
Using high-quality ingredients ensures your dog gets the best nutrition from these treats. Choose whole, natural ingredients, such as whole wheat flour, pumpkin puree, and unsweetened peanut butter. These ingredients not only contribute to the flavor but also enhance freshness. Avoid processed ingredients that may contain hidden sugars or additives. Check labels carefully when selecting items like broth or flour to maximize health benefits for your furry friend.
Dietary Substitutions
If your dog has dietary restrictions, you can easily substitute ingredients. For instance, if your dog has a wheat allergy, opt for oat flour or almond flour instead of regular flour. Similarly, for dogs sensitive to certain proteins, consider using turkey or fish instead of chicken. Many dogs also thrive on grain-free diets, so using ingredients like sweet potato or coconut flour can work wonders. Always consult with your veterinarian before making significant dietary changes.
Storage Tips for Longevity
To ensure that your treated maintain their long-lasting quality, store them properly. Allow the treats to cool completely before placing them in an airtight container. This prevents moisture buildup, which can lead to spoilage. If you want to keep them for an extended period, consider freezing them. Freeze treats in small batches to maintain freshness and simply thaw them as needed. A well-sealed bag can help retain flavors and ensure quality over time.
Flavor Variations
Experimenting with flavors can make treat time exciting for your dog. You might try adding mashed bananas for a sweeter treat or shredded carrots for added crunch and nutrients. Herbs like parsley and mint not only enhance flavor but also promote fresh breath. Tailor the recipe to suit your dog’s preferences, and they will appreciate the variety!
Storage Tips for Long-Lasting Homemade Dog Treats:
Keeping your homemade dog treats fresh and tasty requires careful attention to storage conditions. With the right methods, you can maintain flavor and nutrition, ensuring your furry friend enjoys every bite.
Choosing the Right Containers
First, use airtight containers to store your dog treats. Glass jars, plastic bins, or resealable bags work well. Make sure these containers seal tightly to keep air and moisture out, which can lead to spoilage.
Optimal Storage Conditions
Store dog treats in a cool, dry place. Avoid direct sunlight as it can degrade the ingredients and affect the texture. Keeping treats away from heat sources like stoves or radiators will help maintain their quality. Ideally, a pantry or cupboard works best.
Refrigeration and Freezing Options
If you want to extend shelf life even further, consider refrigeration or freezing. Treats that contain perishable ingredients, like yogurt or certain fruits, should go in the fridge. They can last up to a week when refrigerated. For longer storage, freeze the treats. Wrap them tightly in plastic wrap or aluminum foil, then place them in a freezer-safe bag. This method allows you to keep them for several months. Thaw only what you need to prevent repeated freezing and refreezing, which can damage quality.
Checking Freshness Regularly
Regularly check your stored dog treats for signs of spoilage, such as changes in smell, texture, or color. If you notice any mold or off-odors, discard those treats immediately. Viewing your treats weekly can help you catch any issues before they become a problem.
Understanding Shelf Life
Most homemade dog treats last for about one week in a cool, dry place. Treats stored in the fridge can last about two weeks. When frozen, treats typically maintain their quality for up to six months. Always label your containers with the storage date to keep track of their longevity.
By following these simple storage tips, you will ensure that your homemade dog treats remain fresh and enjoyable for your beloved pet. Happy treating!
Related Recipes: Treats Your Dog Will Love
If you enjoyed making long-lasting homemade dog treats, consider trying these related recipes that will delight your pup while offering variety. Each recipe shares common ingredients or nutritional benefits, making them fantastic companions to your original creation.
- Peanut Butter Pupcakes: These tasty, dog-safe cupcakes combine the rich flavor of peanut butter with wholesome ingredients. The addition of a touch of honey adds a hint of sweetness. Like the long-lasting dog treats, they focus on using natural components, ensuring your dog enjoys a nutritious snack.
- Chicken and Sweet Potato Biscuits: These biscuits are crunchy and full of flavor, featuring a savory mix of chicken and sweet potatoes. They are easy to store and share the same long shelf life as your homemade treats. Both recipes celebrate healthy, simple ingredients and are perfect for rewarding your furry friend.
- Carrot and Oatmeal Cookies: Packed with fiber from carrots and oats, these cookies serve as healthy snacks that can also be stored for extended periods. They complement your homemade treats well, providing additional vitamins and a different texture while keeping your dog interested in their treats.
- Banana and Peanut Butter Chews: These chews combine the potassium of bananas with the protein of peanut butter, offering a nutritious boost. Their chewy texture provides a satisfying experience for your dog and pairs nicely with the crunchy nature of your original treats.
Each of these recipes highlights the importance of wholesome dog-friendly ingredients while providing variety to your pet’s snack time. By making these treats, you ensure that your dog receives tasty and nutritious options that keep their tail wagging!
Frequently Asked Questions:
What are long-lasting homemade dog treats made of?
The ingredients for crispy, durable dog treats typically include whole wheat flour, oats, peanut butter, and a binding agent like eggs or pumpkin. These elements not only provide flavor but also ensure that the treats have a solid texture, allowing them to be preserved for a longer duration compared to softer alternatives. You can also incorporate natural preservatives like honey or cinnamon to enhance both taste and shelf life.
How should I store my homemade dog treats for optimal freshness?
To maintain the quality of your homemade canine snacks, it’s best to keep them in an airtight container in a cool, dry place. Proper storage can significantly extend their lifespan, preventing them from becoming stale or spoiled. If you expect to keep them for several weeks, refrigerating them can also help retain their freshness and texture.
How long do these dog treats usually last?
The shelf life of homemade dog treats can vary based on their ingredients and storage conditions. Generally, if stored correctly, you can expect them to last for about two weeks at room temperature and up to a month in the refrigerator. Freezing can also give you the advantage of keeping them fresh for several months while maintaining flavor and quality.
Can I customize the flavors of my dog treats?
Absolutely! One of the joys of making long-lasting snacks at home is the ability to cater to your dog’s particular tastes and preferences. You can experiment with different flavors using ingredients such as pumpkin, sweet potato, or even carob to create a variety of delicious options while ensuring they remain safe for your pet.
Are there any ingredients I should avoid when making dog treats?
Yes, certain ingredients can be harmful to dogs, such as chocolate, grapes, raisins, and artificial sweeteners like xylitol. It’s crucial to focus on wholesome, dog-friendly components when crafting your homemade treats. Consulting with your veterinarian about your chosen ingredients can help ensure you’re providing safe and nutritious options.
How can I tell if my homemade dog treats have gone bad?
Signs that your dog treats may have spoiled include an off smell, visible mold, or an unusual texture that feels soft or overly hard compared to when you first made them. Regularly check your treats and discard any that show these signs to keep your furry friend safe from potential health issues.
Conclusion:
Creating long-lasting homemade dog treats is a rewarding experience that not only ensures your furry friend enjoys nutritious snacks but also allows for flexibility in ingredients and flavors. By using simple recipes, you can quickly whip up treats that can be stored for weeks, providing convenience for busy pet owners. Customization options are abundant; feel free to experiment with different ingredients to cater to your dog’s taste preferences or dietary needs. From adding peanut butter to incorporating pumpkin puree, the possibilities are endless. These homemade delights can also help save money compared to store-bought treats while ensuring quality and freshness. Remember, the love you put into these long-lasting homemade dog treats will strengthen the bond you share with your canine companion. So roll up your sleeves, gather your ingredients, and embark on this culinary adventure for your beloved pet!