
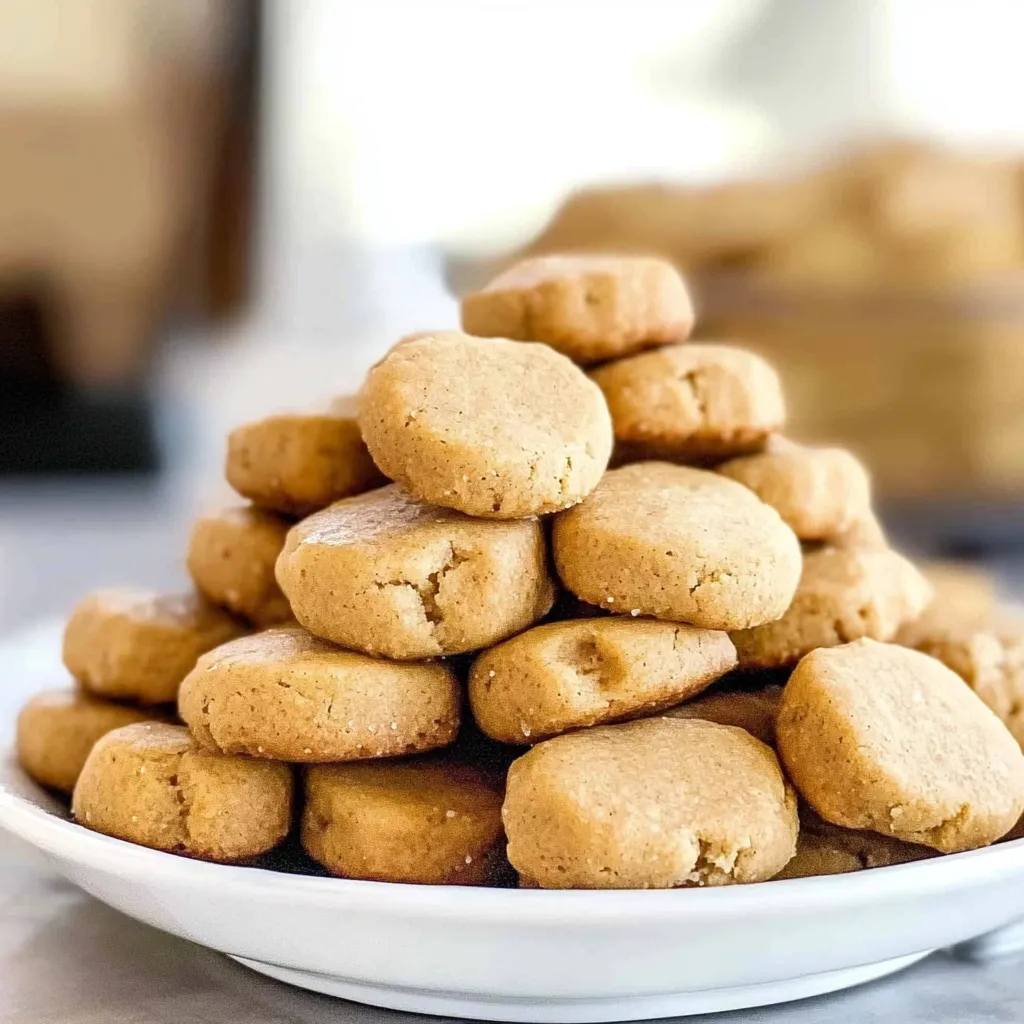
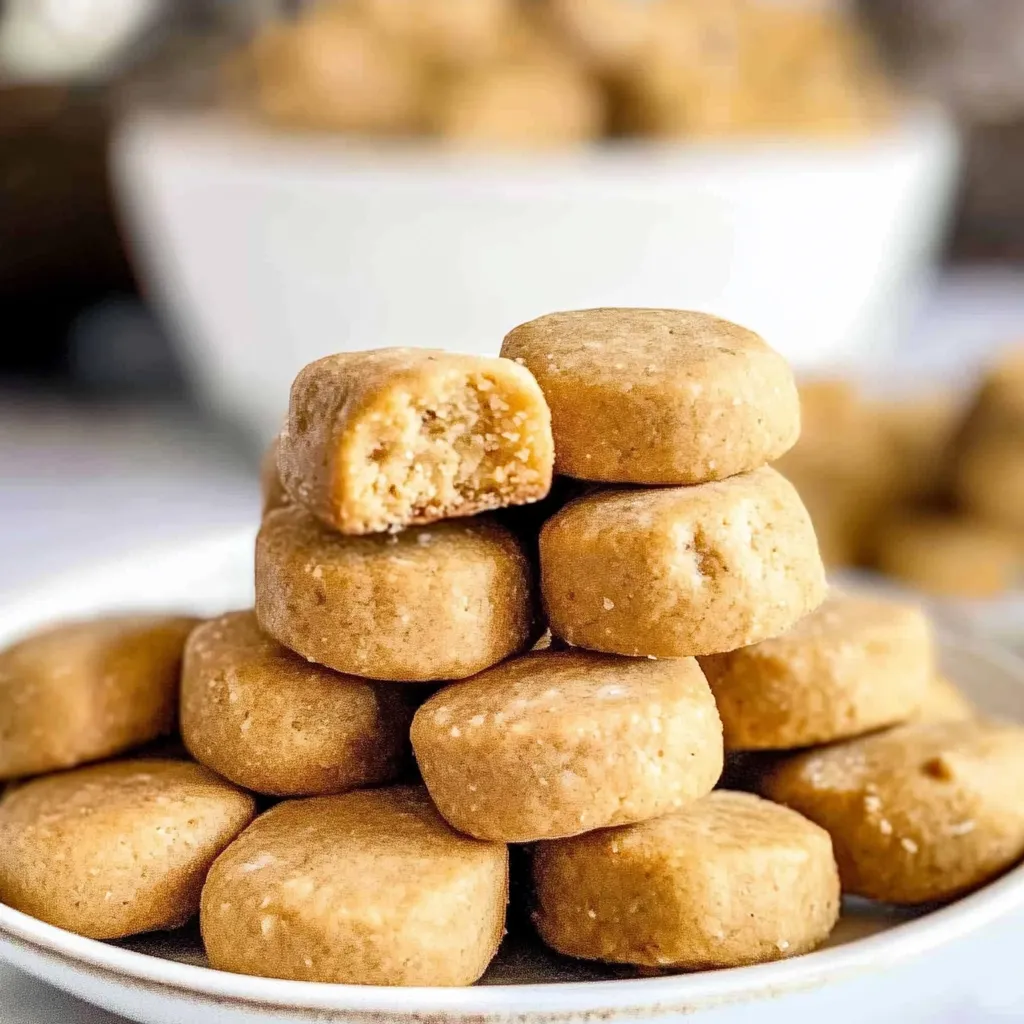
Peanut Butter Dog Treats: Healthy & Delicious Recipes
If you’re looking to pamper your furry friend, there’s no better way than with homemade treats! Peanut Butter Dog Treats are not only delicious but also packed with nutrients that keep tails wagging. The allure of this recipe lies in its simplicity and the wholesome ingredients that ensure your pup enjoys every bite.
This versatile recipe can easily be modified to cater to your dog’s taste preferences or dietary needs. For instance, you can experiment by adding pumpkin puree for digestive health or oats for an extra crunch. Don’t shy away from mixing in bits of bacon or sweet potato for an exciting twist!
To achieve the perfect texture, ensure your dough is neither too sticky nor too dry. Rolling out the mixture to a consistent thickness will guarantee even baking. With these expert tips, your homemade treats are sure to be a hit in your household. Get ready to spoil your canine companion with these delightful bites of joy!
Ingredients for Peanut Butter Dog Treats:
Creating delicious and healthy treats for your furry friend is an exciting adventure! Below is a detailed list of ingredients that will help you whip up a batch of peanut butter treats that are sure to delight any dog. This recipe yields approximately 8–10 servings, perfect for sharing or storing for future snack time!
Base Ingredients
- 1 cup of natural peanut butter (ensure it is xylitol-free and dog-friendly)
- 1/2 cup of unsweetened applesauce (provides moisture and natural sweetness)
- 1 cup of whole wheat flour (can be substituted with oat flour for gluten-free options)
- 1/4 cup of rolled oats (adds texture and fiber to the treats)
Binding and Flavoring Ingredients
- 1/4 cup of chicken broth (low-sodium, or homemade for healthier options)
- 1 large egg (helps bind the mixture and adds protein)
- 1 tablespoon of honey (optional, for an extra hint of sweetness, but ensure your dog is over one year old)
Garnishing Options
- 1/2 cup of shredded carrots (grated finely for added flavor and nutrition)
- 1/2 teaspoon of cinnamon (great for flavor, but do not use nutmeg as it can be toxic to dogs)
Additional Variations
If you’re looking to mix things up or cater to your dog’s specific tastes, consider these variations:
- Swap the peanut butter with almond butter (check that it’s safe for dogs)
- Add in some pumpkin puree for a seasonal twist; just ensure it’s 100% pumpkin and not pie filling
- Chop up some fresh spinach for added vitamins and iron
These ingredients are not only easy to find but also wholesome, ensuring that your pooch receives a nutritious snack. Always tailor the ingredients to suit your dog’s dietary needs and restrictions!
How to prepare Peanut Butter Dog Treats:
Creating homemade treats for your furry friend is a simple and rewarding process. Follow these steps to ensure your Peanut Butter Dog Treats are a hit!
Gather Your Ingredients
Start by collecting all required ingredients. You will need 1 cup of unsalted natural peanut butter, 1 cup of pumpkin puree, 2 cups of whole wheat flour, and 2 large eggs. Additionally, keep some water nearby in case the dough is too dry.
Preheat Your Oven
Before you start mixing, preheat your oven to 350°F (175°C). This will ensure that your dog treats bake evenly and reach the perfect texture.
Mix Wet Ingredients
In a large mixing bowl, combine the peanut butter and pumpkin puree. Use a spatula or spoon to blend these ingredients together until they form a smooth mixture.
Add Eggs
Next, crack the two large eggs into the bowl with the peanut butter and pumpkin mixture. Stir well to incorporate the eggs thoroughly, ensuring that all wet ingredients are well mixed.
Incorporate Dry Ingredients
Gradually add the whole wheat flour into the bowl. Mix the flour into the wet ingredients until a dough begins to form. Use your hands or a spatula to work the dough together.
Adjust Consistency
If the dough feels too dry, add water one tablespoon at a time. Continue mixing until you achieve a pliable dough that is not sticky.
Roll Out the Dough
Lightly flour your countertop or a clean work surface. Place the dough on the surface and roll it out using a rolling pin. Aim for a thickness of about 1/4 inch.
Cut Out Shapes
With cookie cutters, cut out shapes from the rolled dough. You can use bone-shaped cutters or any fun shape your dog would love. Arrange the cutouts on a baking sheet lined with parchment paper.
Bake the Treats
Place the baking sheet in the preheated oven. Bake the treats for 18 to 20 minutes, or until they turn golden brown and firm to the touch.
Cool and Store
Once baked, remove the treats from the oven and let them cool on a wire rack. After they are completely cooled, store them in an airtight container.
Enjoy making and sharing these delightful treats with your furry companion!
Tips for the Perfect Peanut Butter Dog Treats
Making dog treats can be a rewarding experience both for you and your furry friend. To help you create the best peanut butter delights, follow these practical tips for successful results.
Maintain the Correct Temperature
When baking, preheat your oven to the right temperature. A consistent heat ensures even cooking. Typically, a temperature of 350°F (175°C) works well for dog treats. Always use an oven thermometer to verify accuracy. Also, keep an eye on the treats in the last few minutes of baking. You want them to be firm and lightly golden but avoid overbaking, which can make them hard.
Use Quality Ingredients
For delicious and healthy treats, choose high-quality peanut butter. Ensure it’s free from xylitol or any added sugars, as these can harm dogs. If possible, opt for natural peanut butter made with just peanuts and salt. Fresh oats and whole wheat flour also contribute to the nutritional value. Using ingredients your pet enjoys can make treats even more appealing.
Substitutions for Dietary Restrictions
Not all dogs can enjoy traditional ingredients, so it’s essential to make suitable substitutions. For dogs with wheat allergies, consider using oat flour or almond flour instead of wheat flour. If peanut butter isn’t an option due to allergies, try pumpkin puree or sunflower seed butter, both of which are flavorful and nutritious. Always consult your vet before trying new ingredients, especially if your pet has existing food sensitivities.
Keeping Treats Fresh
To maximize freshness, store treats in an airtight container at room temperature. For longer storage, consider freezing them. Spread the treats on a baking sheet before freezing, then transfer them to a freezer bag once solid. This method prevents them from sticking together and allows you to take out just a few at a time.
Personal Touches to Enhance Flavor
Adding a personal touch can elevate these treats. Consider mixing in mashed banana or grated carrots to enhance flavor and provide additional nutrients. You can also sprinkle cinnamon for flavor; it’s safe for dogs and gives a lovely aroma. Experiment with different combinations to find what your dog loves best.
By following these tips, you’ll create tasty and nutritious treats your dog will adore. Keep experimenting with flavors and textures to discover the perfect snack for your pet. Happy baking!
Storage Tips for Peanut Butter Dog Treats:
Properly storing your homemade dog treats ensures they stay fresh and tasty for your furry friend. Follow these tips to maintain the quality and extend the shelf life of your peanut butter dog treats.
Optimal Storage Conditions
Store your treats in an airtight container. This prevents air exposure, which can stale the treats and impact their flavor. Choose containers made from glass or BPA-free plastic for the best results. Keep the container in a cool, dry place, away from direct sunlight. Excess heat can cause the oils in peanut butter to go rancid, affecting both the taste and safety of each treat.
Refrigeration for Freshness
If you want to extend shelf life beyond a few days, refrigerate your peanut butter dog treats. They can last up to two weeks when stored in the fridge. Just make sure to seal them well in an airtight container or zip-lock bag. Label the container with the date you made them, so you can keep track of freshness.
Freezing for Long-Term Storage
For even longer storage, consider freezing your treats. Place them in a single layer on a baking sheet to freeze them individually first. Once frozen, transfer the treats to a freezer-safe bag or container. This method prevents them from sticking together. Peanut butter dog treats can last up to three months in the freezer, retaining their flavor and texture.
Thawing Frozen Treats
When ready to serve the frozen treats, take out only what you need and leave the rest in the freezer. Allow the treats to thaw at room temperature for 30 minutes before serving them. This process helps maintain their texture. Avoid reheating or microwaving, as this can alter their consistency.
Regular Checks for Freshness
Regularly check your stored treats for signs of spoilage. Look for mold, off smells, or changes in texture. Discard any treats that seem questionable. Keeping a close eye on your treats helps ensure your dog enjoys only the freshest snacks.
By following these storage tips, you can keep your treats in the best condition possible, ensuring your pup always looks forward to snack time!
Related Recipes for Your Furry Friend
If your pup loves the deliciousness of peanut butter dog treats, you might want to explore some other homemade options that are equally tasty and healthy. Here are a few complementary recipes that will keep your dog tail-wagging happy.
- Sweet Potato Chews: These chewy snacks are made with just sweet potatoes. They provide natural sweetness and are packed with vitamins. Just like peanut butter, sweet potatoes are a popular favorite among dogs, making these chews a great treat to include in your dog’s snack repertoire.
- Carrot and Apple Biscuits: Combining fresh carrots and apples creates a crunchy treat that is rich in fiber and vitamins. Dogs enjoy the crunchy texture, much like they do with the peanut butter treat. These biscuits are perfect for a healthy alternative that satisfies their chewing instincts.
- Kid-Friendly Dog Cookies: Using oats, peanut butter, and banana, these cookies are safe and nutritious for both kids and pets. The ingredients are wholesome, and the recipe can be a fun activity to involve your children in, all while creating something your dog will enjoy.
Each of these recipes shares a focus on using wholesome ingredients and providing a satisfying texture for your dog. They all offer unique flavors and essential nutrients, making them excellent additions to your furry friend’s treat collection.
Frequently Asked Questions:
Can I use any type of peanut butter for dog treats?
When it comes to making nutritious snacks for your furry friend, it’s important to choose the right peanut butter. Always opt for natural peanut butter that contains no added sugar, salt, or artificial sweeteners. Xylitol, a common sweetener in many products, is toxic to dogs. Avoid any peanut butter that has hydrogenated oils or additives to ensure your dog’s safety and well-being.
How long do homemade peanut butter dog snacks last?
Homemade dog goodies, particularly those made with peanut butter, can typically last around a week when stored in an airtight container at room temperature. If you wish to extend their freshness, consider refrigerating them, where they can last for two weeks or longer. For even longer preservation, you can freeze these treats, which allows you to store them for several months without sacrificing flavor or texture.
Are there any health benefits to giving my dog peanut butter?
Peanut butter is not only a tasty treat for dogs, but it also provides several health benefits. It is a source of protein, healthy fats, and essential vitamins such as B vitamins and vitamin E. However, moderation is key, as peanut butter is calorie-dense, and overindulgence can lead to weight gain in pets. Always monitor your dog’s intake to maintain a balanced diet.
Can I customize peanut butter dog treats with other ingredients?
Certainly! You can customize these treats with various ingredients to cater to your dog’s tastes and dietary needs. Common additions include oats, pumpkin puree, applesauce, or even mashed bananas. Just be cautious to avoid any ingredients that are harmful to dogs, like chocolate or grapes.
Are peanut butter dog biscuits suitable for dogs with allergies?
If your dog has food sensitivities or allergies, it’s crucial to perform a thorough check on the ingredients in any homemade or store-bought goodies. While many dogs thrive on peanut butter snacks, some may be allergic to peanuts. Always consult with your veterinarian before introducing any new treats to your pet’s diet, especially if they have known allergies.
Can I give my puppy peanut butter treats?
Yes, puppies can enjoy peanut butter snacks, but make sure to introduce them gradually. Their digestive systems are still developing, so it’s best to start with small amounts to see how they react. Additionally, always ensure that you are using puppy-safe peanut butter that doesn’t contain any harmful additives. As with adult dogs, moderation is essential to avoid excessive calorie intake.
Conclusion:
Creating delightful Peanut Butter Dog Treats is a simple and rewarding experience that your furry friend will love. This recipe emphasizes the ease of preparation, requiring just a handful of wholesome ingredients. Additionally, the flexibility of this treat allows you to customize flavors or shapes according to your dog’s preferences and dietary needs. Furthermore, you can experiment with various mix-ins like oats, pumpkin, or even carob for added nutrition and taste. Whether you choose to bake them as crunchy biscuits or whip up a no-bake version, these treats are easily adaptable to suit your cooking style. By crafting these homemade delights, you not only ensure your dog’s safety with natural ingredients but also create special moments of bonding. Treat your pup to some homemade goodness—they deserve it!